General Actions:
10.1 Create a User Defined Supplier
- After selecting a requisition to approve from your To Do list, in the Requisition Approval Summary screen select the 'Edit' button.
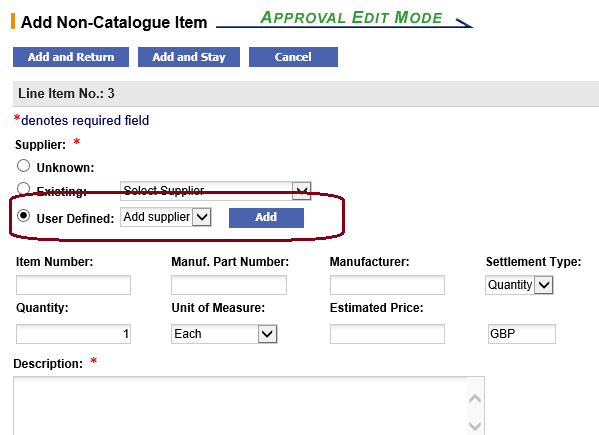
- Click the 'Add Non-Catalogue Item' button.
- Select the ‘User Defined’ radio button in the ‘Add Non-Catalogue Item’ screen and click the 'Add' button.
- In the ‘User Defined Supplier’ page enter your new supplier details.
The following fields are available for entry. Note that required fields are marked with an asterisk and must be completed before the new supplier can be saved.- Supplier Name (mandatory).
- Supplier Address (mandatory).
- Supplier GLN.
- Contact Name.
- Contact Phone Number.
- Contact Email Address.
- Order Transmission Details: email address or fax number (mandatory).
- Supplier Number.
- Order Currency (selectable with default).
- Customer Number.
- Tax ID.
- Payment Method (selectable with default).

- Click ‘Save’ to return to the ‘Update Non-Catalogue Item’ page and finish editing the Non-Catalogue item.
A new supplier has now been entered into the PECOS P2P database and assigned to the requisition. The new supplier is available for use by other PECOS P2P users and will be reviewed by your administrator.
Navigation
P2P Approvals